Day 87 (Project-8): Deploying React App on AWS Elastic BeanStalk with GitHub Actions

Project Description 📝
In this project, we embark on setting up a Continuous Integration and Continuous Deployment (CI/CD) pipeline to deploy a React application on AWS Elastic BeanStalk using GitHub Actions. Let's dive into the details and witness how GitHub Actions streamline our deployment process efficiently.
Introduction
Hey there, fellow learners! Hope you're all safe and thriving. Let's dive straight into this exciting project where we'll unleash the power of CI/CD for deploying our React application seamlessly.
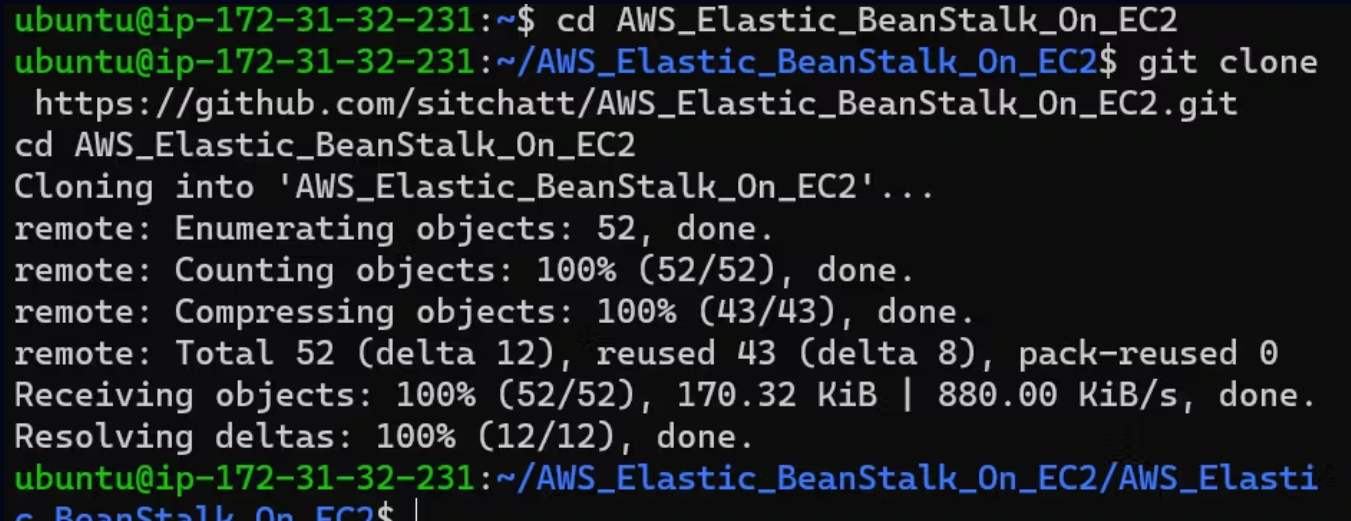
Step 1: Clone the Source Code 🛠️
Assuming you're on an Ubuntu machine, let's clone the repository containing our React application code:
bashCopy codegit clone https://github.com/sitchatt/AWS_Elastic_BeanStalk_On_EC2.git
cd AWS_Elastic_BeanStalk_On_EC2
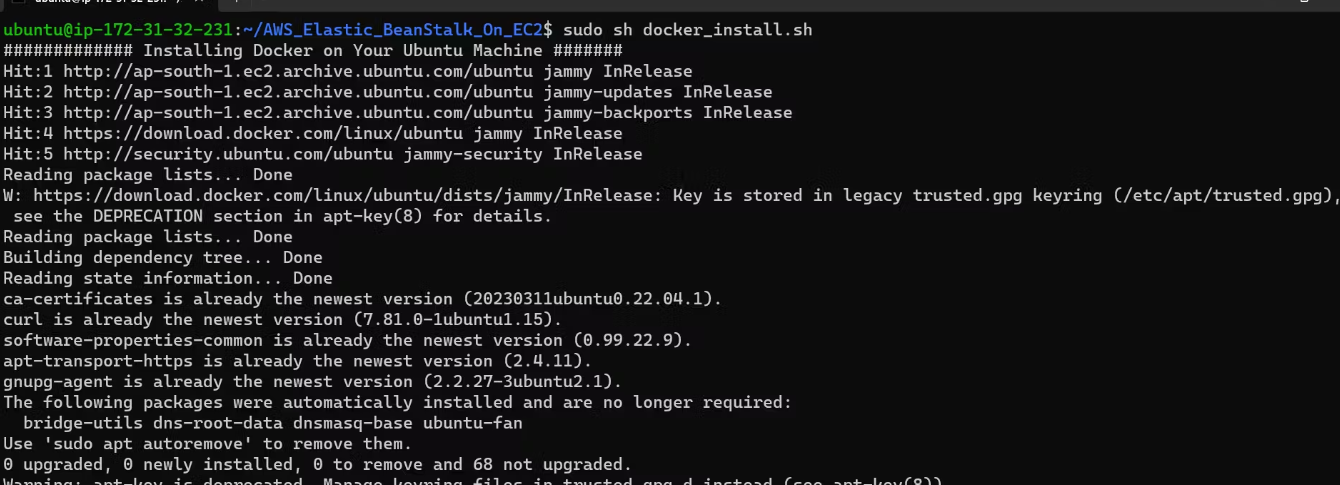
Step 2: Install Docker 🐳
Next up, let's install and enable Docker by running the provided shell script:
bashCopy codechmod +x docker_install.sh
sh docker_install.sh
Step 3: Create a Multi-Stage Dockerfile 📦
Craft a Dockerfile with multi-stage build to package our React application:
DockerfileCopy codeFROM node:14-alpine as builder
WORKDIR /app
COPY package.json .
RUN npm install
COPY . .
RUN npm run build

FROM nginx
EXPOSE 80
COPY --from=builder /app/build /usr/share/nginx/html
Step 4: Build Docker Image 🏗️
Let's build the Docker image for our React application:
bashCopy codesudo docker build -t <provide_image_name> .
Step 5: Run Docker Container 🚢
Time to launch our Docker container:
bashCopy codesudo docker run -d -p 80:80 <image_name>
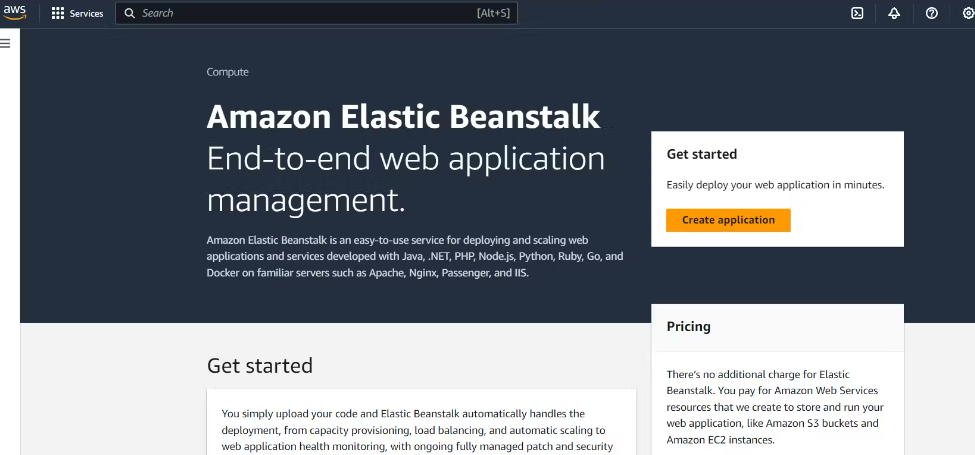
Step 6: Configure Elastic BeanStalk 🌐
Head over to AWS Elastic BeanStalk and create an application with the specified details.

Step 7: Configure CI/CD Pipeline with GitHub Actions 🔄
Move the deploy-react.yaml file to .github/workflows directory and update the parameters accordingly.
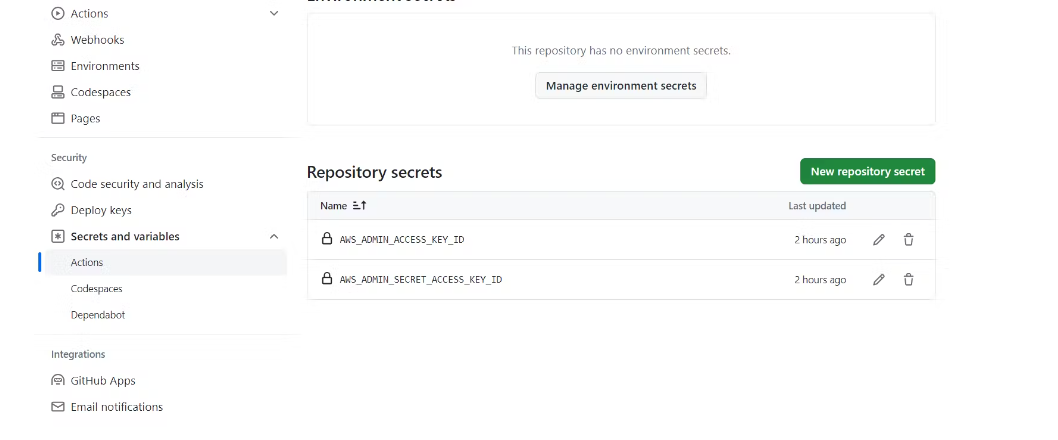
Adding Secrets to GitHub Actions (Optional) 🔒
For added security, you can add AWS access key and secret access key as repository secrets in GitHub settings.
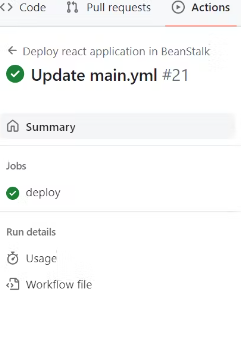
Step 8: Trigger GitHub Action CI/CD 🚀
Push the code to the main branch to trigger the GitHub Actions workflow.
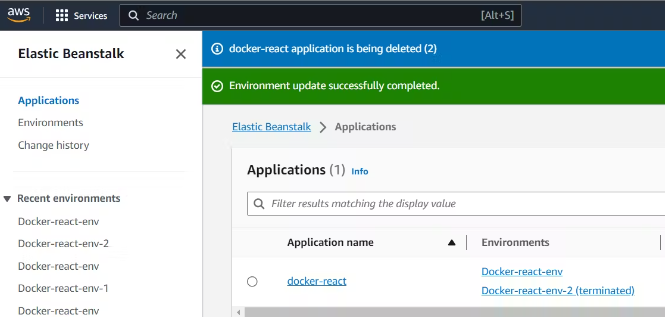
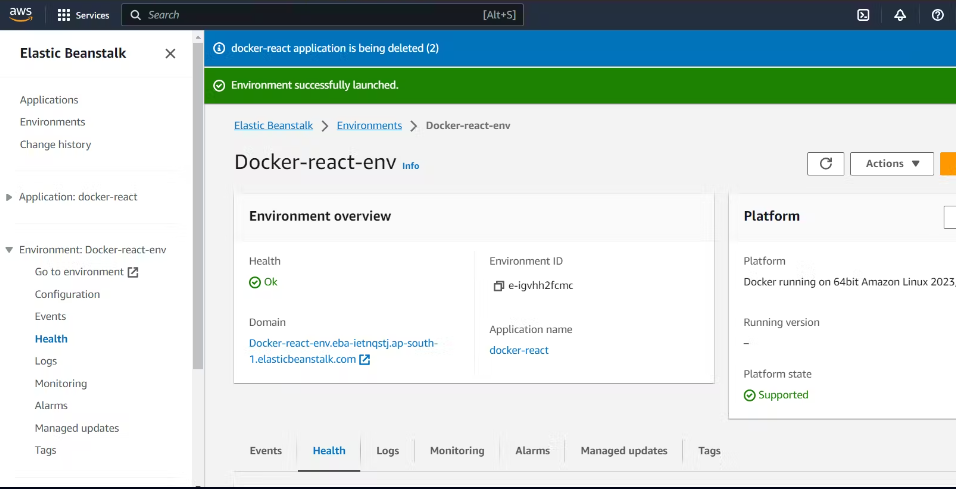
Step 9: Checking our Achievement 🎉
Verify the Elastic Beanstalk link to confirm the deployment of our React application.
Conclusion 🎊
Congratulations on successfully deploying our React application to AWS Elastic BeanStalk using GitHub Actions! We have streamlined the deployment process and showcased our expertise in DevOps practices. Here's to our achievements and readiness for future challenges!
Let's keep innovating and learning together! #React #AWS #GitHubActions #ElasticBeanStalk #CI/CD #DevOps #Day86 🌟💻


