

Hey everyone! Today, I'm thrilled to share with you an exciting project I've been working on - deploying a Netflix clone web application on a Kubernetes cluster. Let's dive into the details!
Project Description 📝
This project is all about harnessing the power of Kubernetes, a leading container orchestration platform, to deploy and manage containerized applications at scale. Here's what's on the agenda:
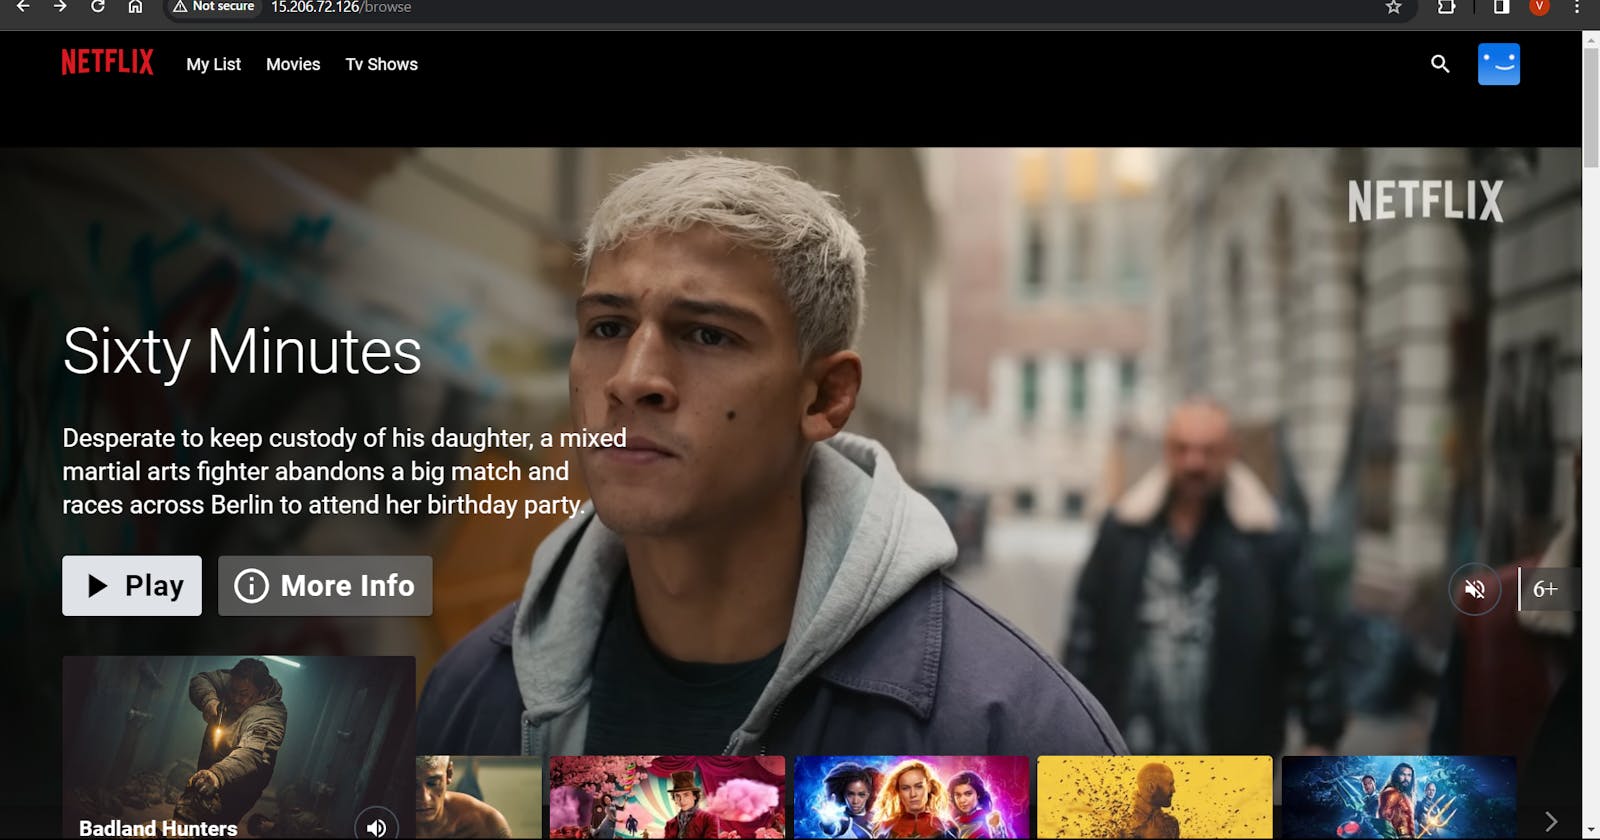
Netflix Clone Application: We're deploying a Netflix clone web application, leveraging Kubernetes to ensure high availability, scalability, and automatic failover.
Dockerization: The application and its dependencies will be containerized using Docker, streamlining the deployment process and ensuring consistency across environments.
Kubernetes Deployment: Kubernetes manifests will be utilized to deploy the Docker images onto the Kubernetes cluster, taking advantage of Kubernetes' robust orchestration capabilities.
Pre-requisites 🛠️
Before diving into the project, ensure the following pre-requisites are met:
EC2 Instance Setup: Provision an EC2 instance via AWS Management Console, configured with a t2.medium setup, serving as the deployment environment.
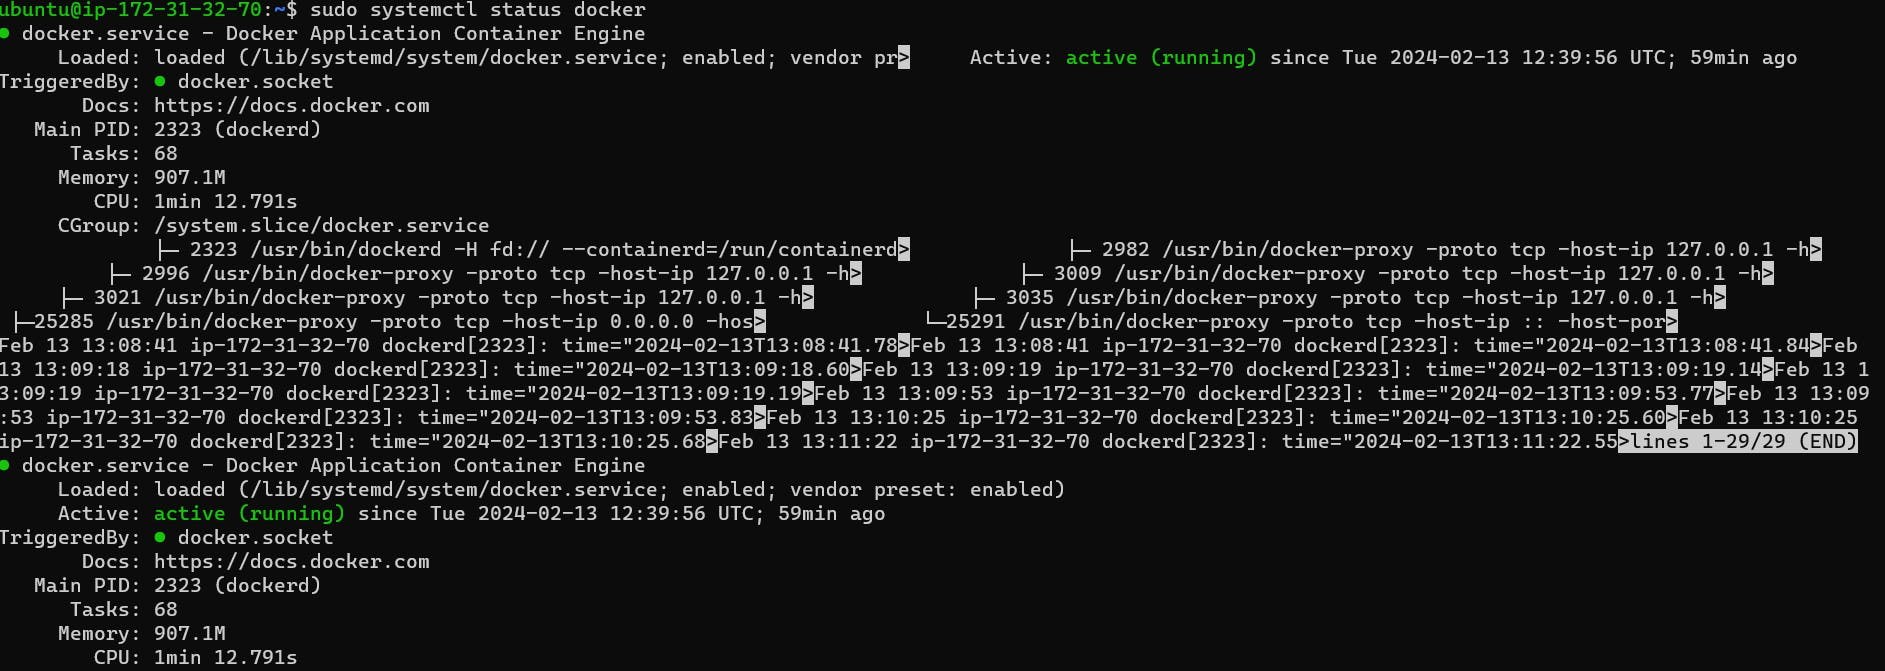
Docker Installation: Install Docker on the EC2 instance, facilitating containerization of the application.
Kubernetes Installation: Install Kubernetes and kubectl utility on the EC2 instance, empowering efficient management of containerized applications across clusters.
Project Steps 🚀
Now, let's break down the steps involved in deploying our Netflix clone with Kubernetes:
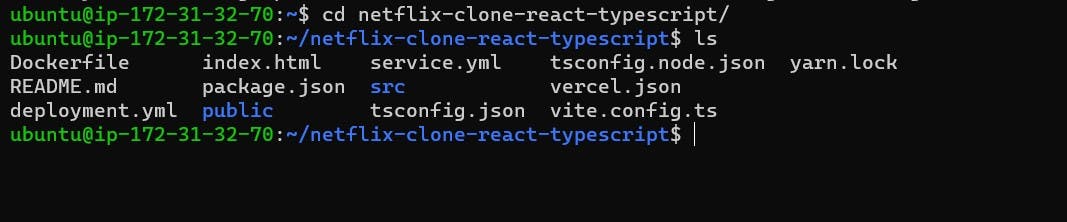
Retrieve Code from GitHub: Clone the source code of the Netflix clone application from GitHub onto the EC2 instance, setting the stage for deployment.
Docker Image Creation: Build a Docker image of the Netflix clone application and its dependencies using the provided Dockerfile, ensuring encapsulation and consistency.

Push Docker Image to DockerHub: Upload the Docker image to DockerHub, enabling seamless sharing and distribution across environments.
Create Deployment YAML File: Craft a deployment YAML file specifying how Kubernetes should manage the deployment, including details like image, replicas, and resource requirements.
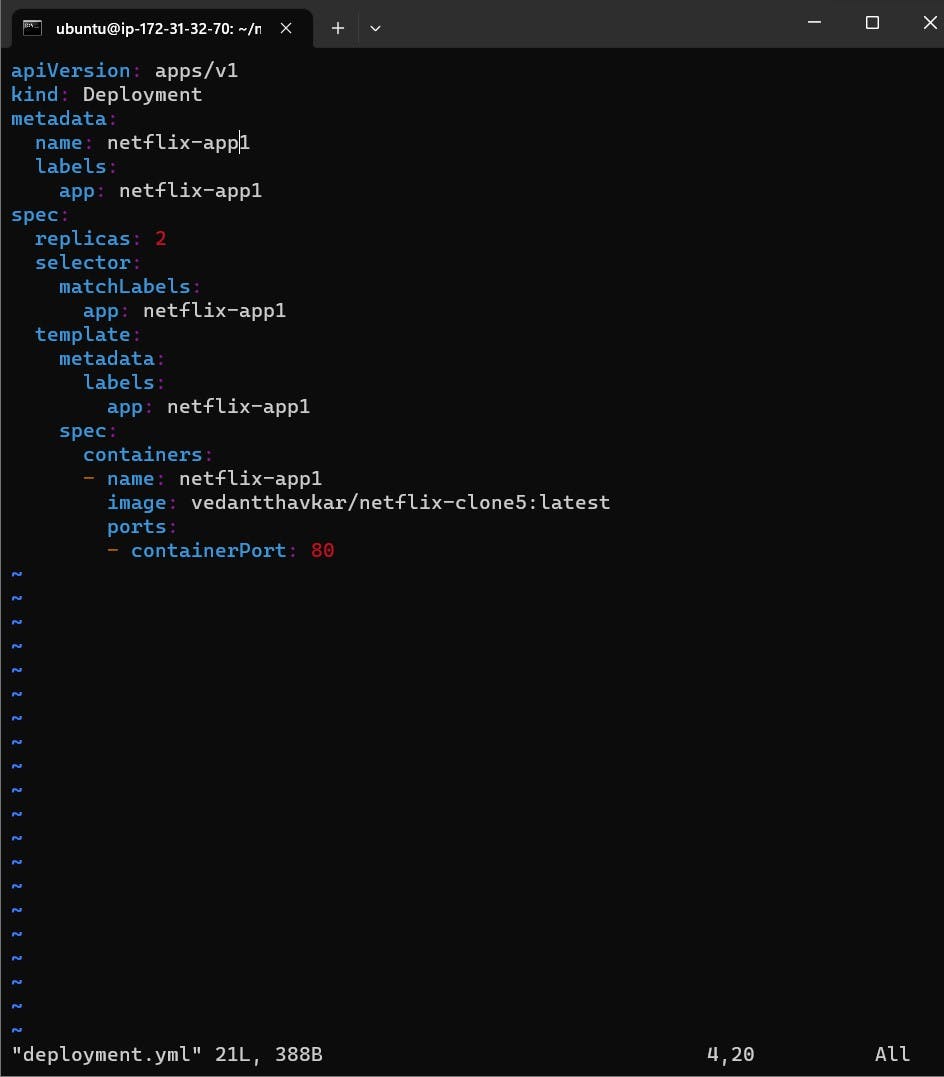
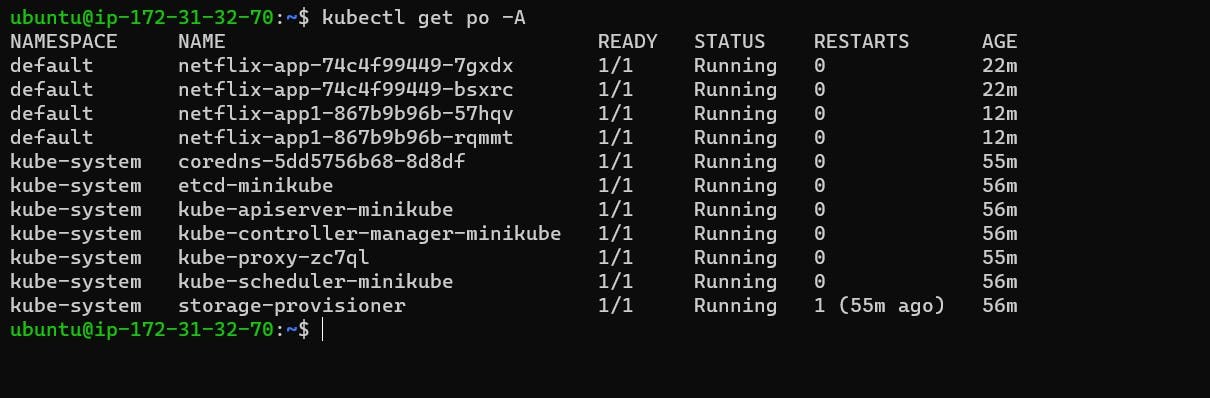
Deploy and Validate Application: Apply the deployment YAML file to the Kubernetes cluster using kubectl, verifying successful deployment and functionality.

Establish Service Configuration: Configure a service.yaml file to expose the Netflix clone application to external clients via node ports.
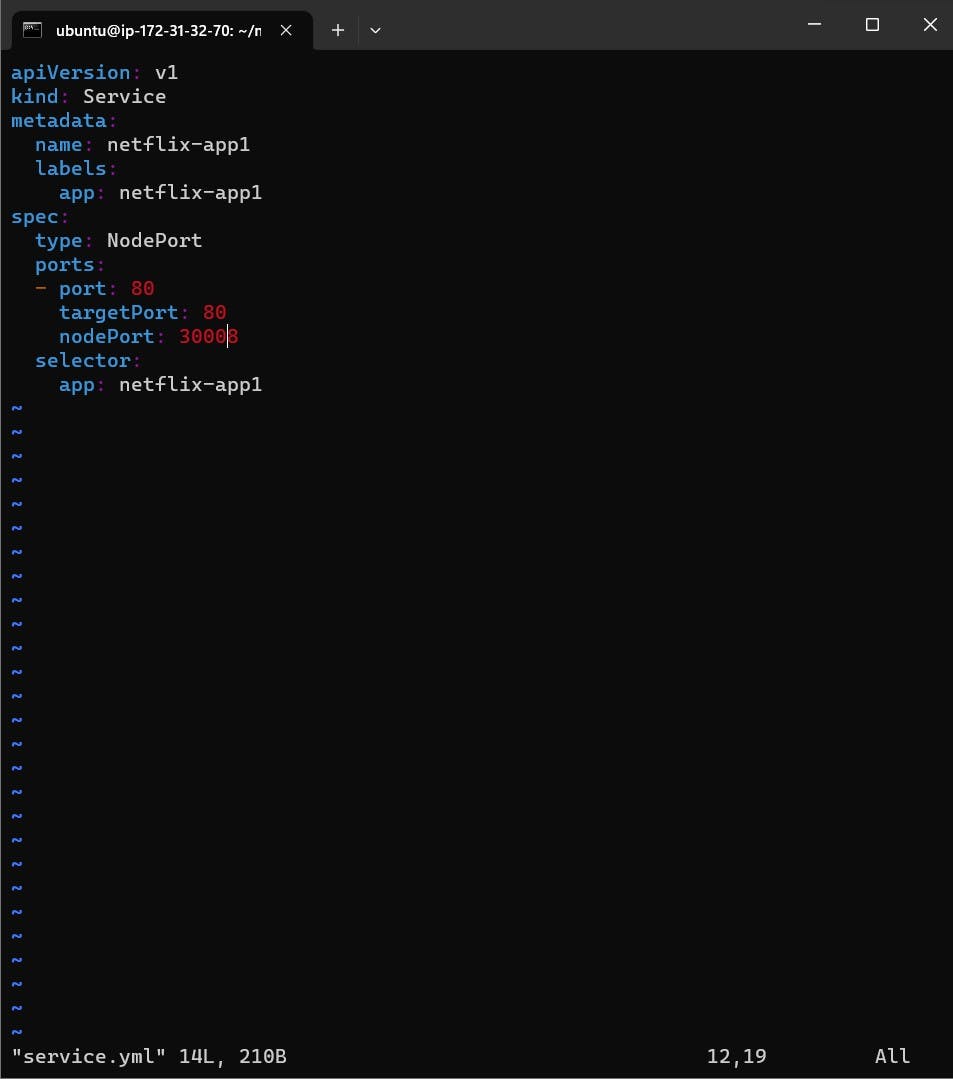
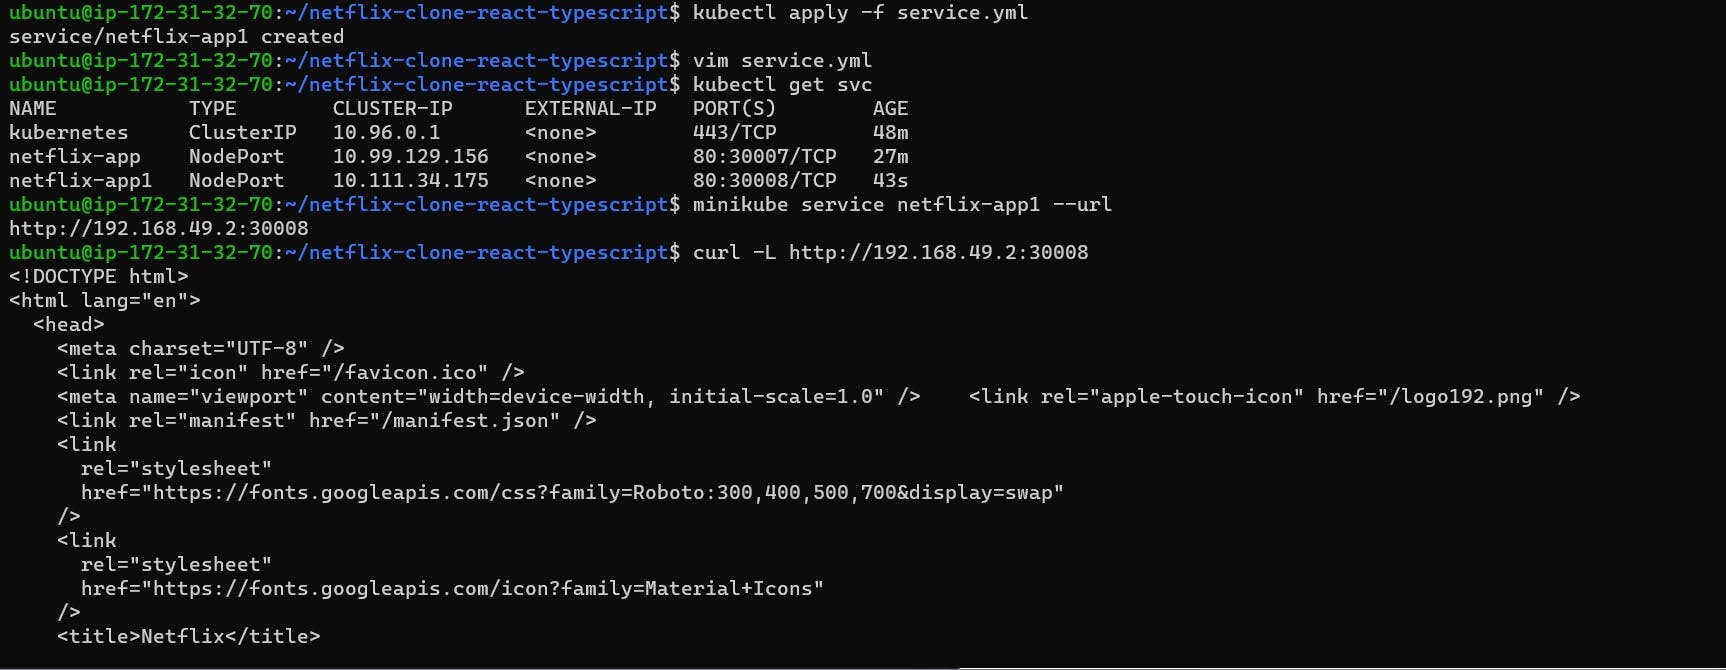
Verify Service Functionality: Apply the service.yaml file to the Kubernetes cluster, confirming correct configuration and accessibility.

Test Accessibility with cURL: Utilize cURL to test the accessibility of the Netflix clone application, ensuring seamless interaction.
Validate Public Accessibility: Verify public accessibility of the application via a public URL, ensuring availability from anywhere on the internet.
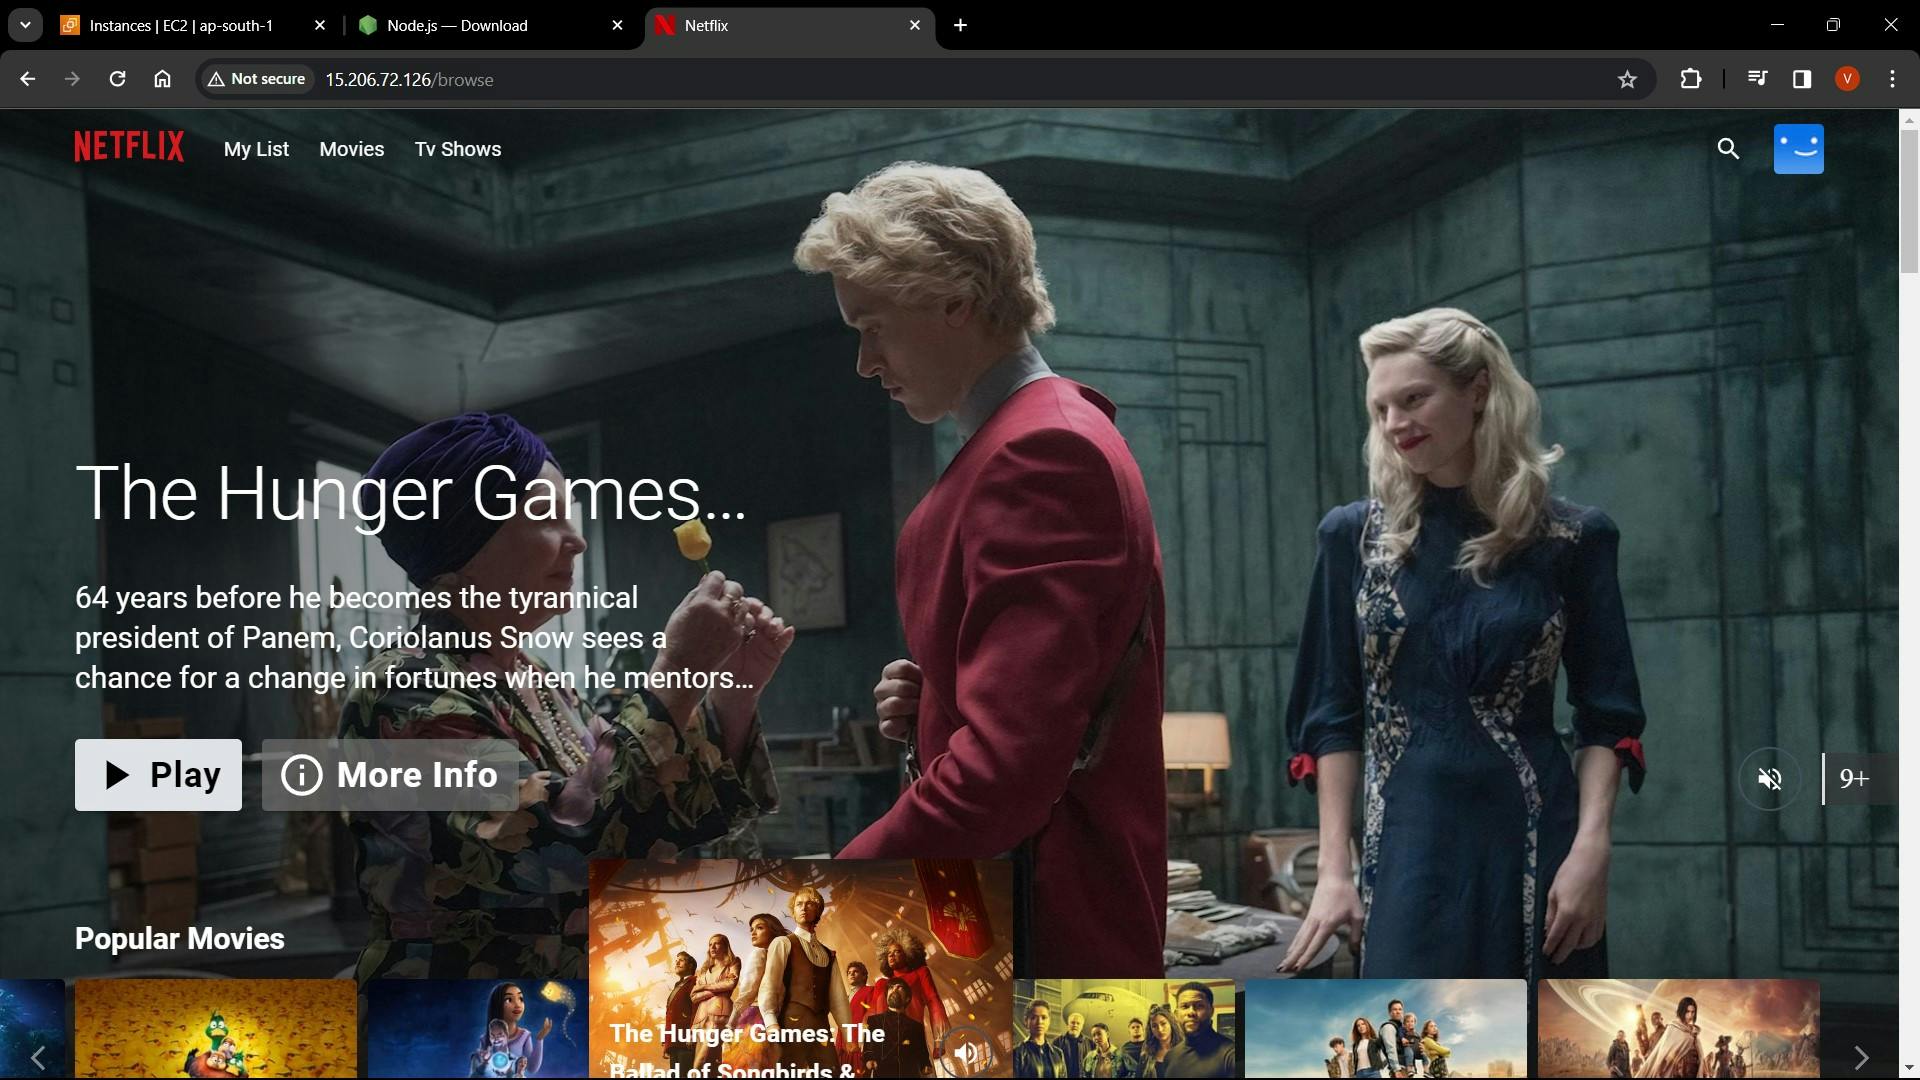
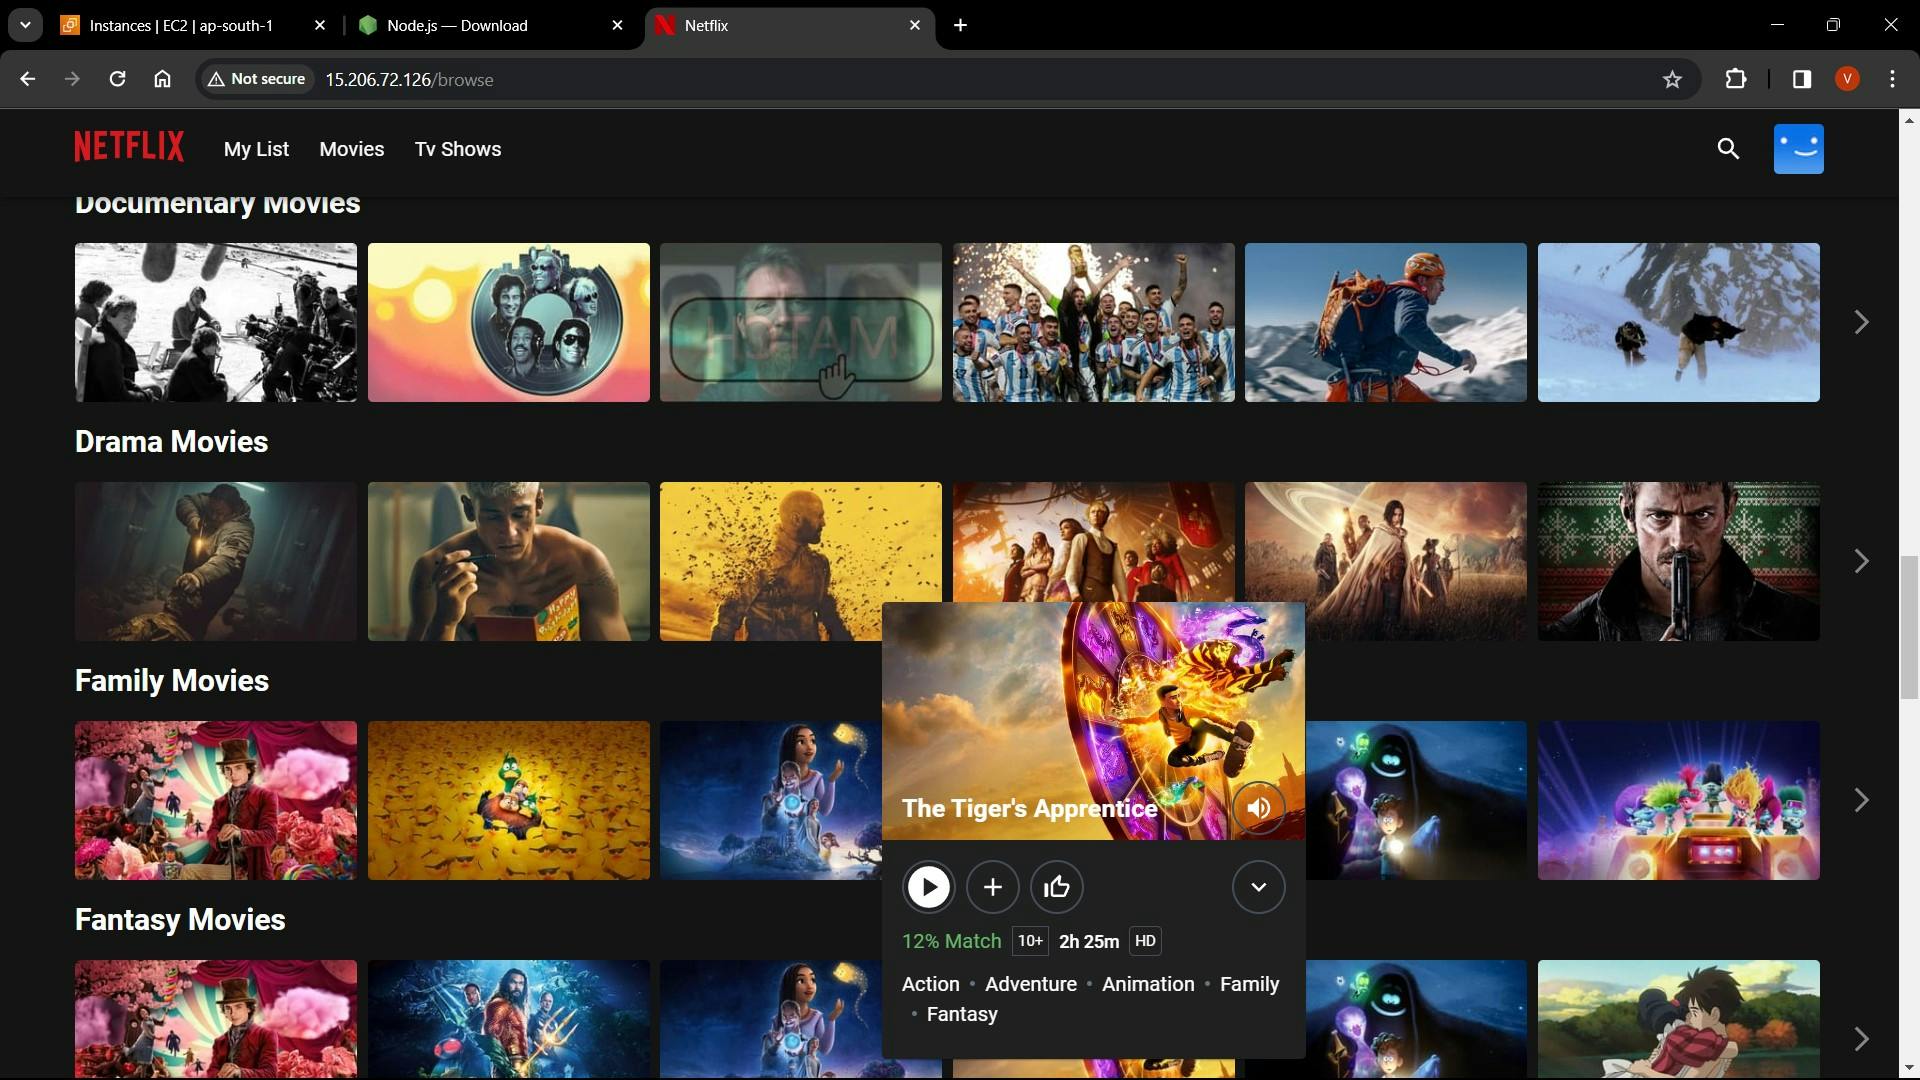
Utilize API Keys for Data Synchronization: Configure API keys during container creation to enable real-time data synchronization between the Netflix clone application and the actual Netflix platform.
Conclusion 🎉
In conclusion, this project demonstrates the deployment process of a Netflix clone web application using Kubernetes. By following these steps, users can effectively deploy and manage containerized applications at scale, leveraging Kubernetes' powerful features for orchestration and management.
#Kubernetes #NetflixClone #Containerization #DevOps #TechProjects #Day84 🐳💻✨